


DIY Christmas Paper Advent Calendar(1)
Today to get a head start on our Christmas decorating, I’m going to show you how to make an advent calendar out of paper and gift boxes, it’s so easy.It’s gonna look like a mini...
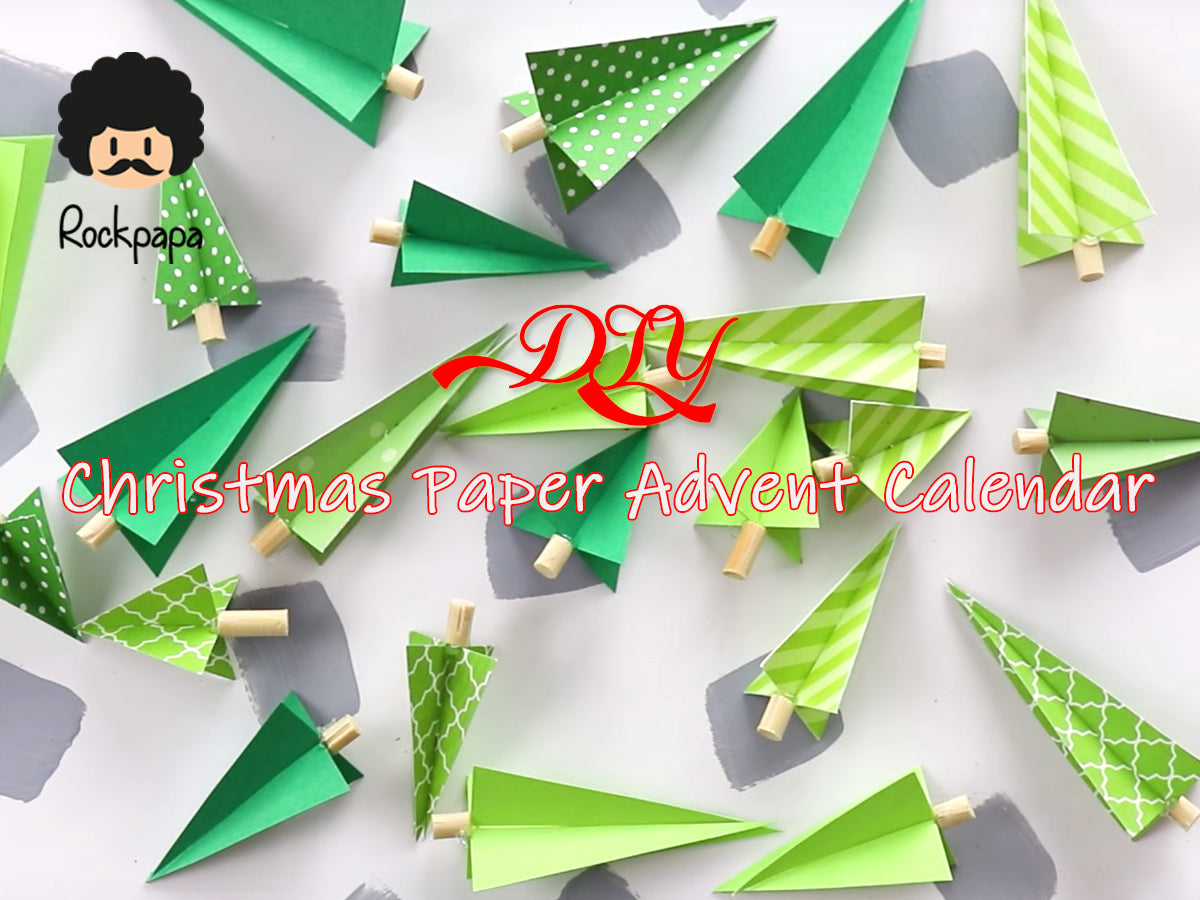
You’ll want a few different sizes for all your different trees.
Then pick a triangle and trace it twice onto your first piece of green paper.
Now cut halfway up from the bottom on one triangle, and you’ll want to cut a tiny slit that’s the same width as the thickness of the paper.
Repeat that on the top of the other triangle.


Then slide them together to get a Christmas tree.


Now this step is optional, but to make the tree trunk, you can grab a dowel or a wooden skewer and use a saw to cut it into teeny tiny pieces.
Use a dot of hot glue to glue it onto the bottom of the tree.
And there you go, that’s how you make a mini paper Christmas tree.
Now if you have craft paper that’s not double sided, don’t worry, we can work with that.
Just cut out a square and use a gluestick to glue it onto the back of the paper.


And then you can follow all the same steps.


So you’re going to want 24 mini Christmas trees.

You can also make a bigger sparkly tree for Christmas Day if you want to.

To be continued......
GO to:
Part 1: https://rockpapa.com/blogs/news/diy-christmas-paper-advent-calendar
Part 3: https://rockpapa.com/blogs/news/diy-christmas-paper-advent-calendar-3
You can landing http://karenkavett.com/blog/ to see the full video.
Thanks for Karen Kavett .
If we have infringement please contact us, we will delete or change the time.
0 comments

