


DIY Christmas Origami (1)
First up we’re going to make an origami bow and put it on an adorable Christmas card.You’ll want a piece of origami paper, or any lightweight paper that you have around. Fold it in half...
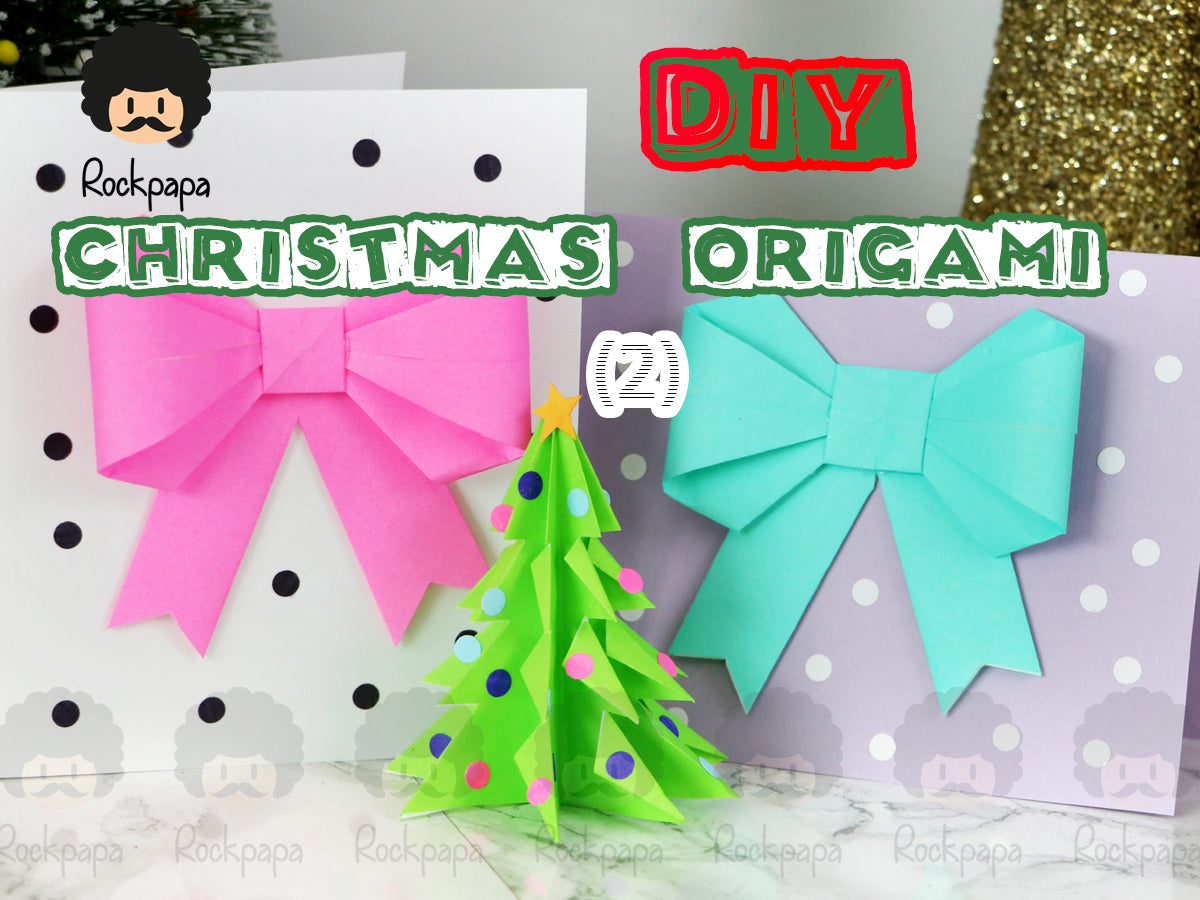
Now we’re going to make this cute little Christmas tree.
This time grab some green paper.


Then fold each side of the square into the center to get a triangle shape.


Now you’re going to open up each of those folds and refold them so the triangle is inside.
It’s a little hard to explain but hopefully you can see what I’m doing on screen.


Now you should have a flat shape that looks like an accordion from the bottom.

Grab your scissors and cut off the bottom of the shape.

Then cut three lines into each side.


Now you’re going to take each layer separately and fold tiny triangles like this and you can see how it’ll start to look like a Christmas tree.


Once you’ve done that for each layer, evenly space them out, and you have made a paper tree.

To decorate it, grab cardstock, a hole punch, markers, and a glue stick.

Color a section with each marker on the cardstock and punch out your ornaments.

Use a glue stick to carefully glue them onto the tree.


To finish it off, cut a star from your yellow marker and glue that onto the top of the tree.


And now you have made an adorable little origami tree.

If you’re really bored at work, you could make a whole forest of these in all different sizes to decorate your desk.


GO to:
Part 1: https://rockpapa.com/blogs/news/diy-christmas-origami-1
💝💝💝Hope you Love it!💝💝💝
You can landing http://karenkavett.com/blog/ to see the full video.
Thanks for Karen Kavett .
If we have infringement please contact us, we will delete or change the time.
0 comments
